
Description
Following steps are done here:
- Modifying settings
- Generating technical rule documentation
- Checking different views
- Exploring other existing projects
Instructions
1: Modifying settings
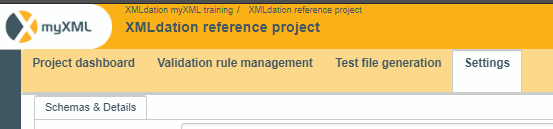
Settings are selected from the main navigation
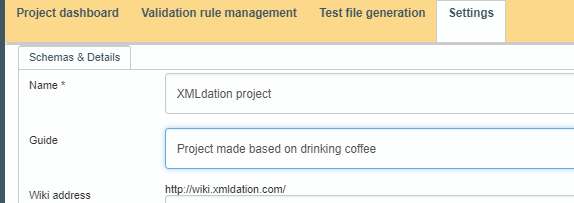
We may change multiple options related to test files, schema used and description of a project and the group it belongs to. We could change the name and Guide in this phase, which affects what is visible for users at validation side
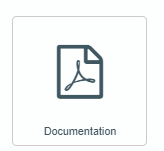
2: Generating technical rule documentation
In some cases it may be useful to have a shareable technical documentation of a project. This can be printed out from Project dashboard -> documentation
3: Checking different views
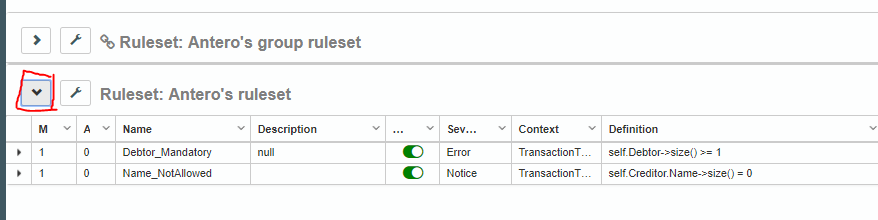
There are two different views for validation rules: schema view and rules view. These both are accessible under validation rule management
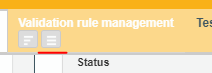
So far we have been using schema view. Selecting the second icon will show alternative view on how to modify/create rules. This may be useful if a project has a large amount of business rules.
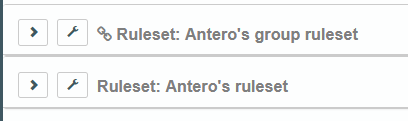
Rulesets are opened with the arrow icon
4: Exploring other existing projects
The projects we have created so far are shown in the left-hand-side navigation:
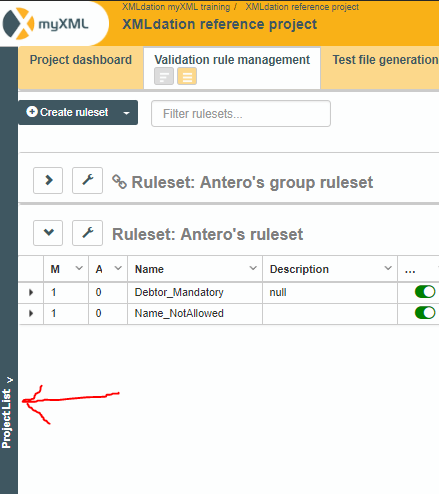
After opening the main group, project is shown:
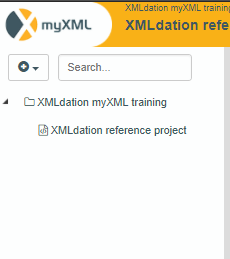
If there are multiple people participating in the training, other people's projects are shown here as well.
We may also select projects from the landing page, accessible by clicking the logo on the upper left side of UI:

In the landing page, only the most recent projects are listed.
This concludes the basics on how projects and validation rules are created and made avaialble to be used via validation service.
In the next section, we'll focus on creating more advanced validation rules, needed if there are business rules where rules requires a condition.