
Description
Following steps are done here:
- Modifying validation rule level
- Modifying validation rule message
- Compiling and deploying
- Testing in validator
- Using edit mode in validator
Instructions
1: Modifying validation rule level
In order to modify a rule it has to be opened.
In this example we can modify the rule created in previous section, Creditor name not allowed. Double clicking the box will open a modal containing all data for the rule.

In this section we don't have to worry about displayed here. Instead, we'll find the section "severity".
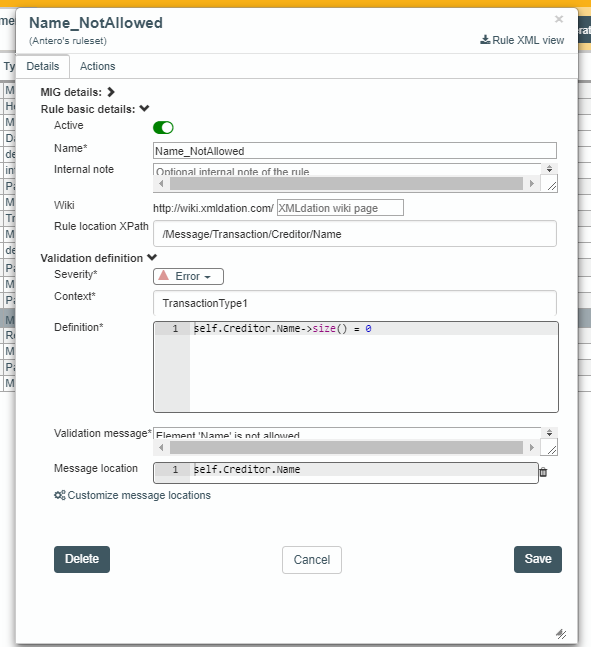
And change it to notice
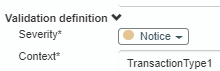
This means that if the rule is saved now, it will return a notice level message instead of an error level message.
2: Modifying validation rule message
The task we did in phase 1 modified severity of rule. This means that our message wording would be in a mismatch with the level.
Element 'Name' is not allowed.
indicates an error, but rule is not an error.
Therefore we should change this text to following, for example:
Data within 'Name' will be ignored by the bank.
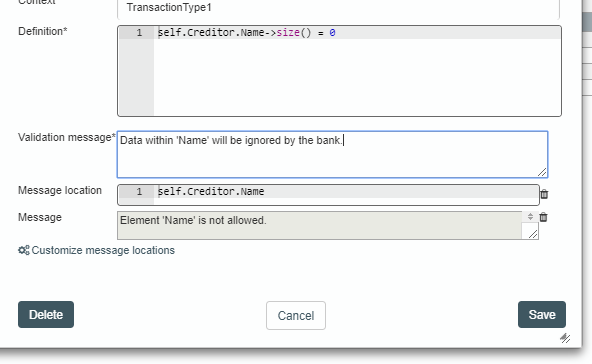
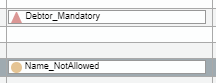
After clicking save, rule will be saved to Studio and it's level updated in the UI
Not required in this phase, but here it is worth locating the button for rule deletion, which may be useful later on. This button is in the lower left corner of the modal.
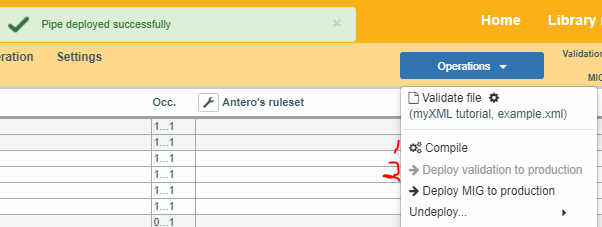
3: Compiling and deploying
At this point, we may test the implementation again via Studio validation. But in addition we can also try out the normal validation accessible for XMLdation validation service users.
In order to activate the changes we have made two prior actions will have to be done:
- Compiling
- Deploying
Compile makes sure the rules we have made are valid. Deploying means we transfer the changes to validation service. If deploying is not done, the changes we have done will not be visible from validation service's point of view.
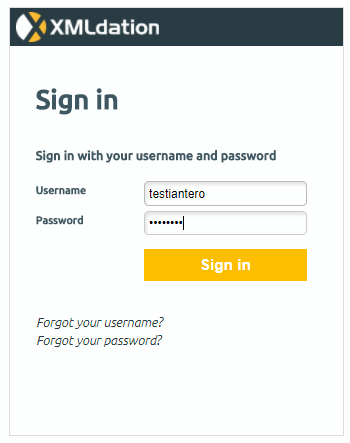
4: Testing in validation service
We can login using the same credentials as used in Studio, via url https://demo.xmldation.com.
It's a good idea to open this service to another tab/window so we can return to Studio later.
After login, selecting validation -> selecting browse -> selecting the earlier example file -> clicking validate -> selecting our newly created validation pipe, we should get a validation result
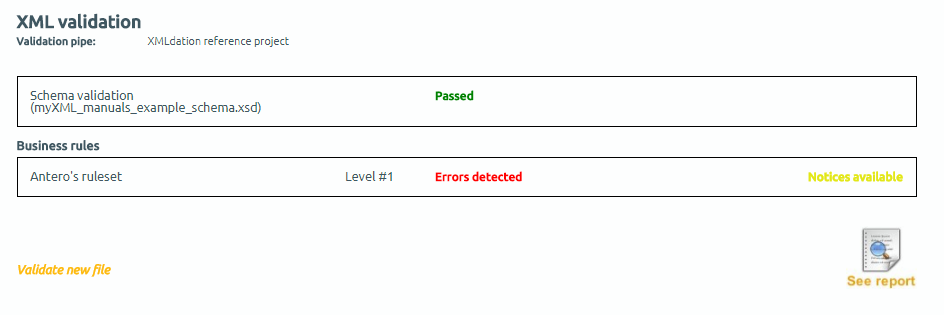
Opening the report will show the XML data. Benefit of this mode is that we are able to use "edit mode", which means that we're able to test the validation rules further.
5: Using edit mode in validator
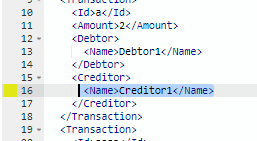
At this point we should have following result open
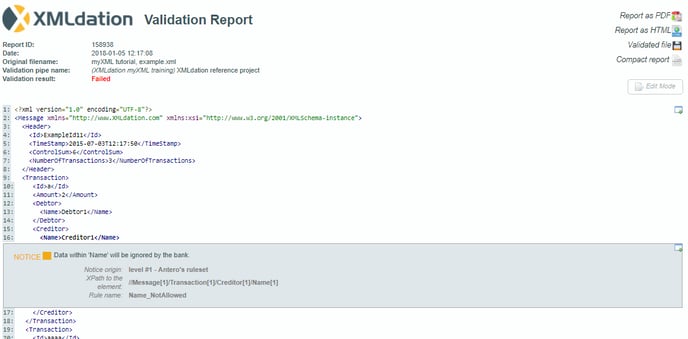
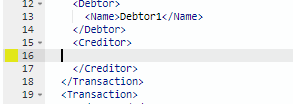
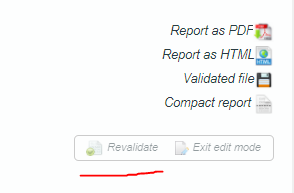
In the upper right corner, there's an icon for edit mode. Clicking it will make XML editable. Therefore we can test whether a notice is given when Creditor name is missing from the file
 -->
--> 
Clicking revalidate will initate new validation run
In this validation, we should no longer be getting the notice for Name which is present.
At this point we're able to create, modify and test validation rules. Next we'll change rulesets to be group rulesets, enabling us to work more efficiently in the case when we have multiple different validation projects we should do.