
Description
- Compiling project
- Testing implementation in Studio
- Creating rule: element may not be present
- Testing implementation in Studio
Instructions
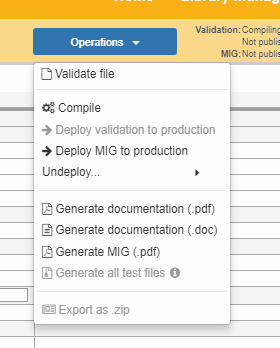
1: Compiling project
Purpose of compilation is to turn the implementation we have made so far into executable format. Compilation is done automatically when using "Operations -> Validate file" but it can also be done independently using "Operations -> Compile".
If there are any errors in the rule definitions in the project, Studio will let us know after compiling. However, in the case of automatically generated rules (the one we have made so far in training) we can expect everything to be in order

2: Testing implementation in Studio
Next, we shall input a test file into Studio. Premade test file is attached into this wiki page, you can download it from here. It will have to be saved as XML file on the computer and then selected when validating. Validation can be initiated by selecting "Operations -> Validate file".
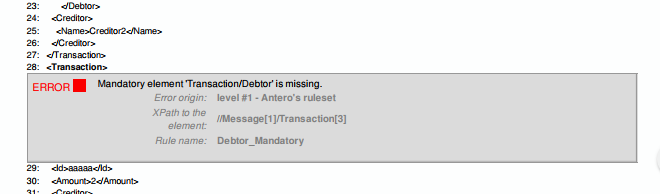
We should now get a pdf response containing the validation result.
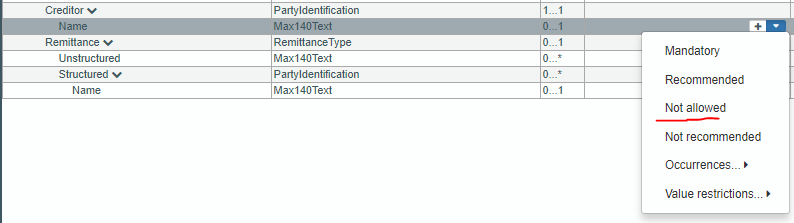
3: Creating rule: element may not be present
In this step, we shall make another rule, this time prohibiting the presence of an element. Here again we can prohibit any element but we should make the rule for Creditor name.
4: Testing implementation in Studio
To test the newly created rule implementation, we can repeat steps 1 and 2. As a result we should now be getting an error that Creditor Name is not allowed to be used.
In the next phase, we shall modify an existing rule and validate via using the normal validation service instead of myXML validation.