
Description
Following steps are done here:
- Logging in
- Creating a project
- Creating a ruleset
- Creating a rule
Instructions
1: Logging in
We start by logging in to the Studio service via url
2: Creating a project
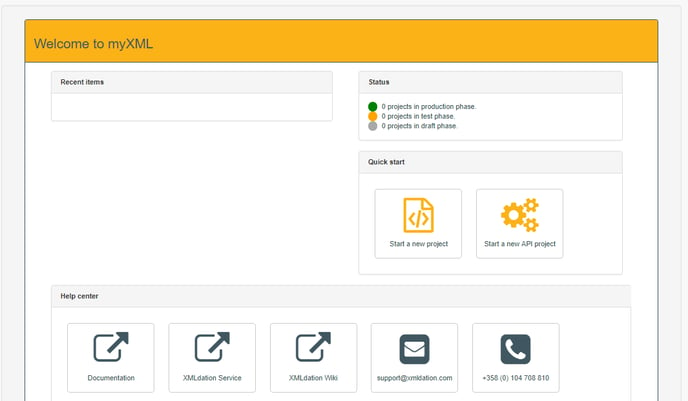
Depending on user licence, there may be content already in recent items section. But at this point there's no need to worry about them or about the different functionalities shown on the screen.
We start by creating a project by clicking the orange icon on the mid-right section, "start a new project", following modal should now be open:
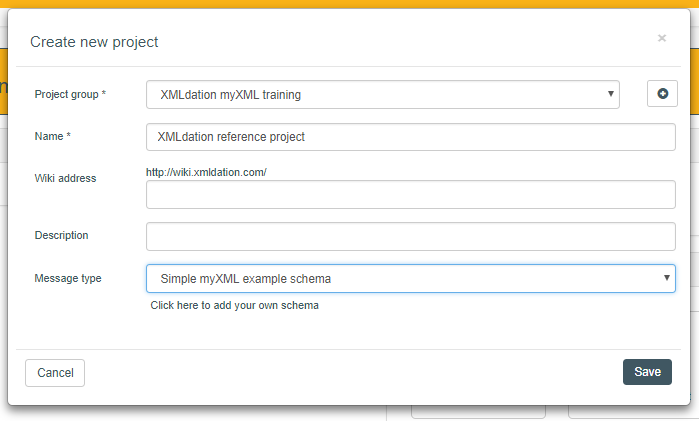
Following data needs to be filled:
Group: There should already be a project group available (perhaps named differently than in the above picture), this should be selected for now. It is also possible to create new groups altogether but there's no need to do that now.
Name: Name can be whatever you would like, but it's a good idea to use a unique name if there are more than one people participating the training.
Message type: There are various of different message types available. In this training we'll use "simple myXML example schema" which is tailored to be small and thus more understandable than ISO 20022 schemas actually used by financial agencies.
After saving this data to the project, following screen will be opened:
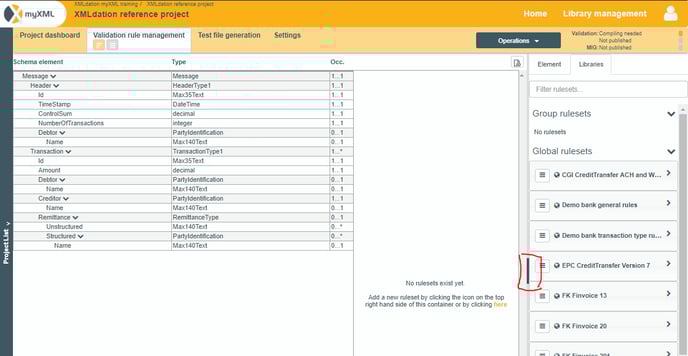
At this point, we may close the right-hand navigation for now from the button circled as red in thie mid-right section of the screen. This section may be opened later by the same button
3: Creating a ruleset
Ruleset is a container for the rules we'll create in the next steps. It may be created either from the mid-section of the screen or by clicking the icon on upper-right corner of interface
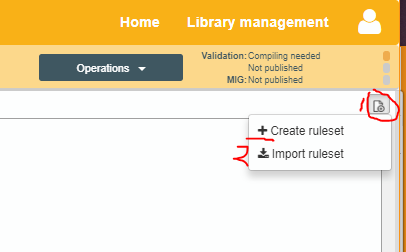
This icon is always visible.
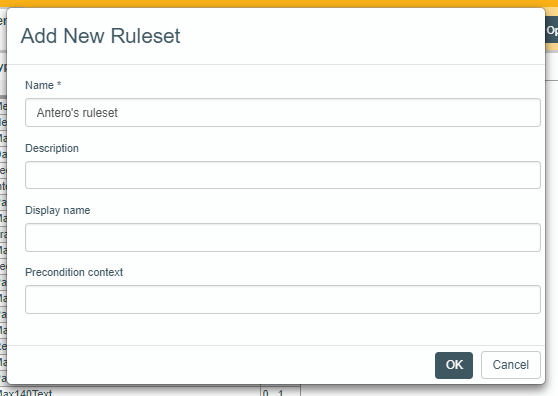
Basic info will have to be filled for ruleset. Here we only need the name, other details will be introduced in later sections.
4: Creating a rule
At this point we have a ruleset made.
As expected, there are no rules here yet. Next, we shall add a validation rule. We can create the rule for any element, but in this example it's recommended to make Debtor mandatory. We can do this by hovering on top of Debtor, selecting the downwards arrow and finally selecting "mandatory
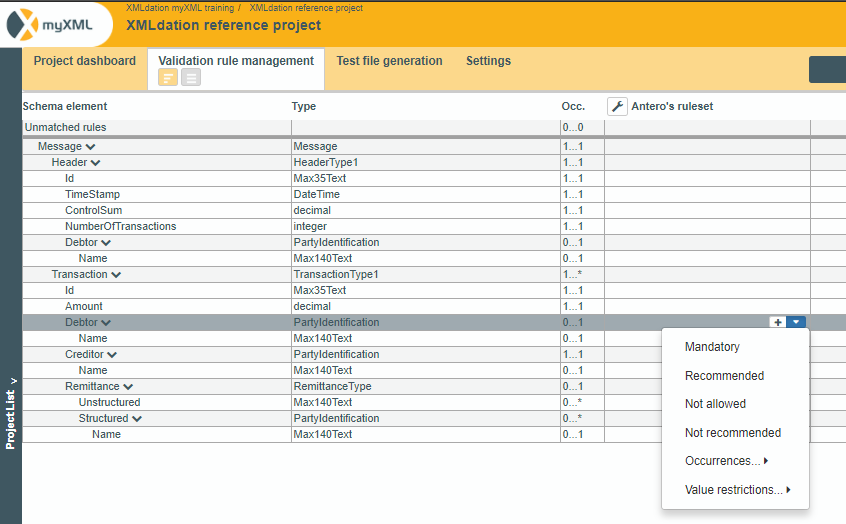
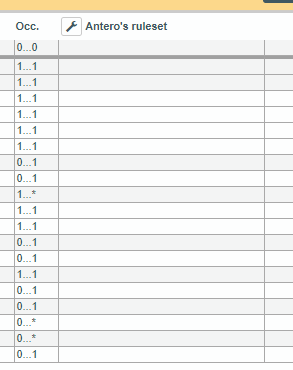
After this is done, validation rule will be generated and shown as below in the UI

This concludes the first section of the training. In the next section we'll test the implementation to make sure it behaves as we expected.